
Financial Allocations can be added to your GL Template to represent complex account structures in your Journal Report. Setting up Financial Allocations allows you to allocate Agreements to different structures like business units, cost centres, or departments.
Creating Financial Allocations
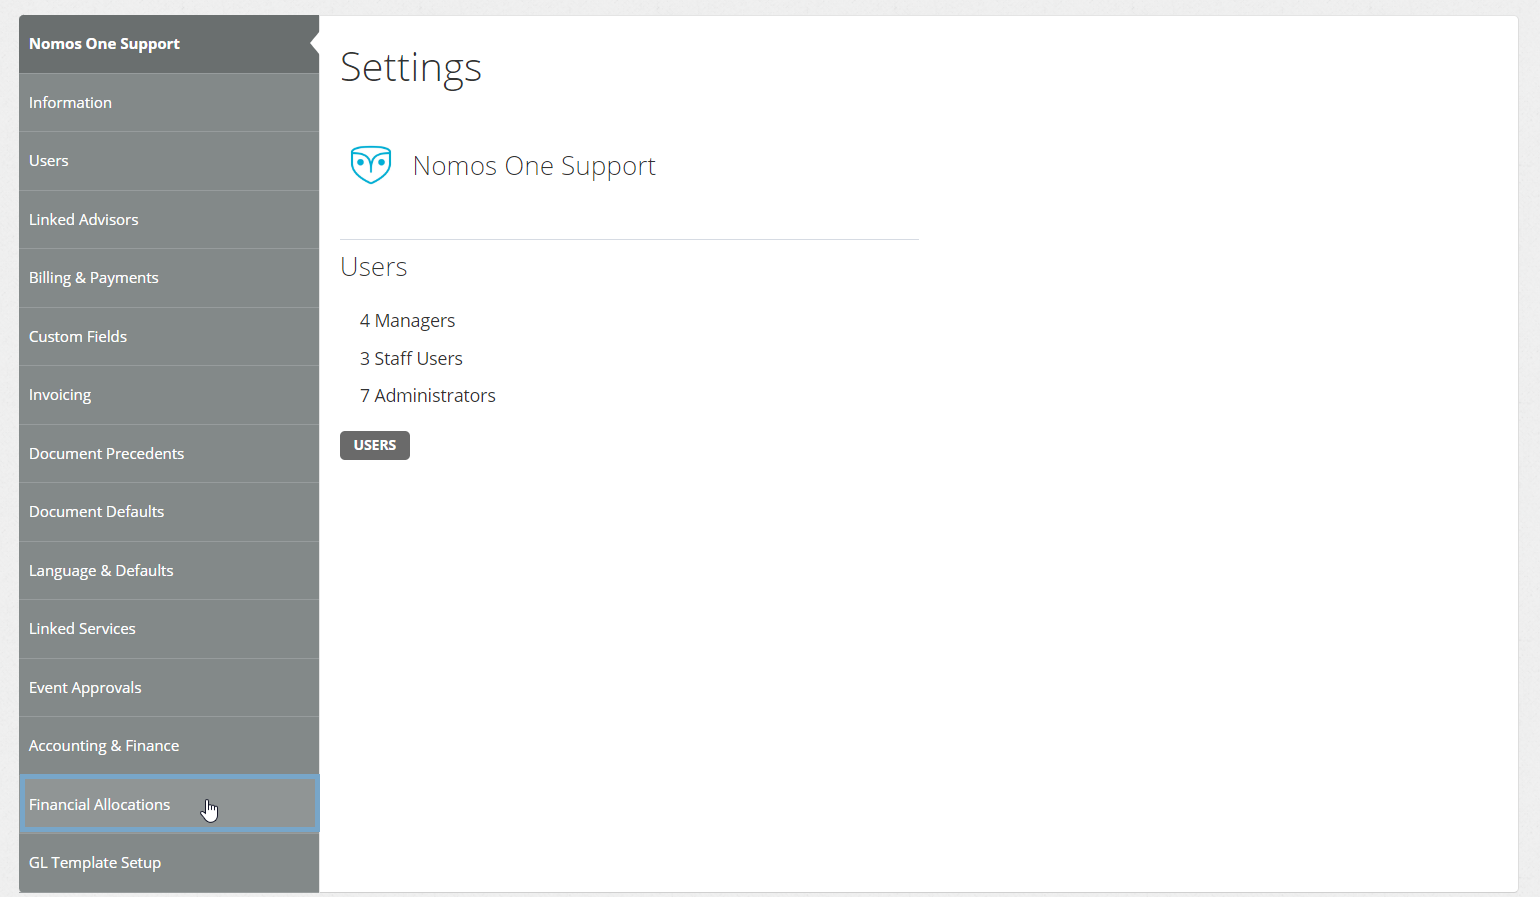
Before you can apply Financial Allocations to your Agreements, you need to define the Financial Allocation group/s and create each different allocation.
To set up Financial Allocations:
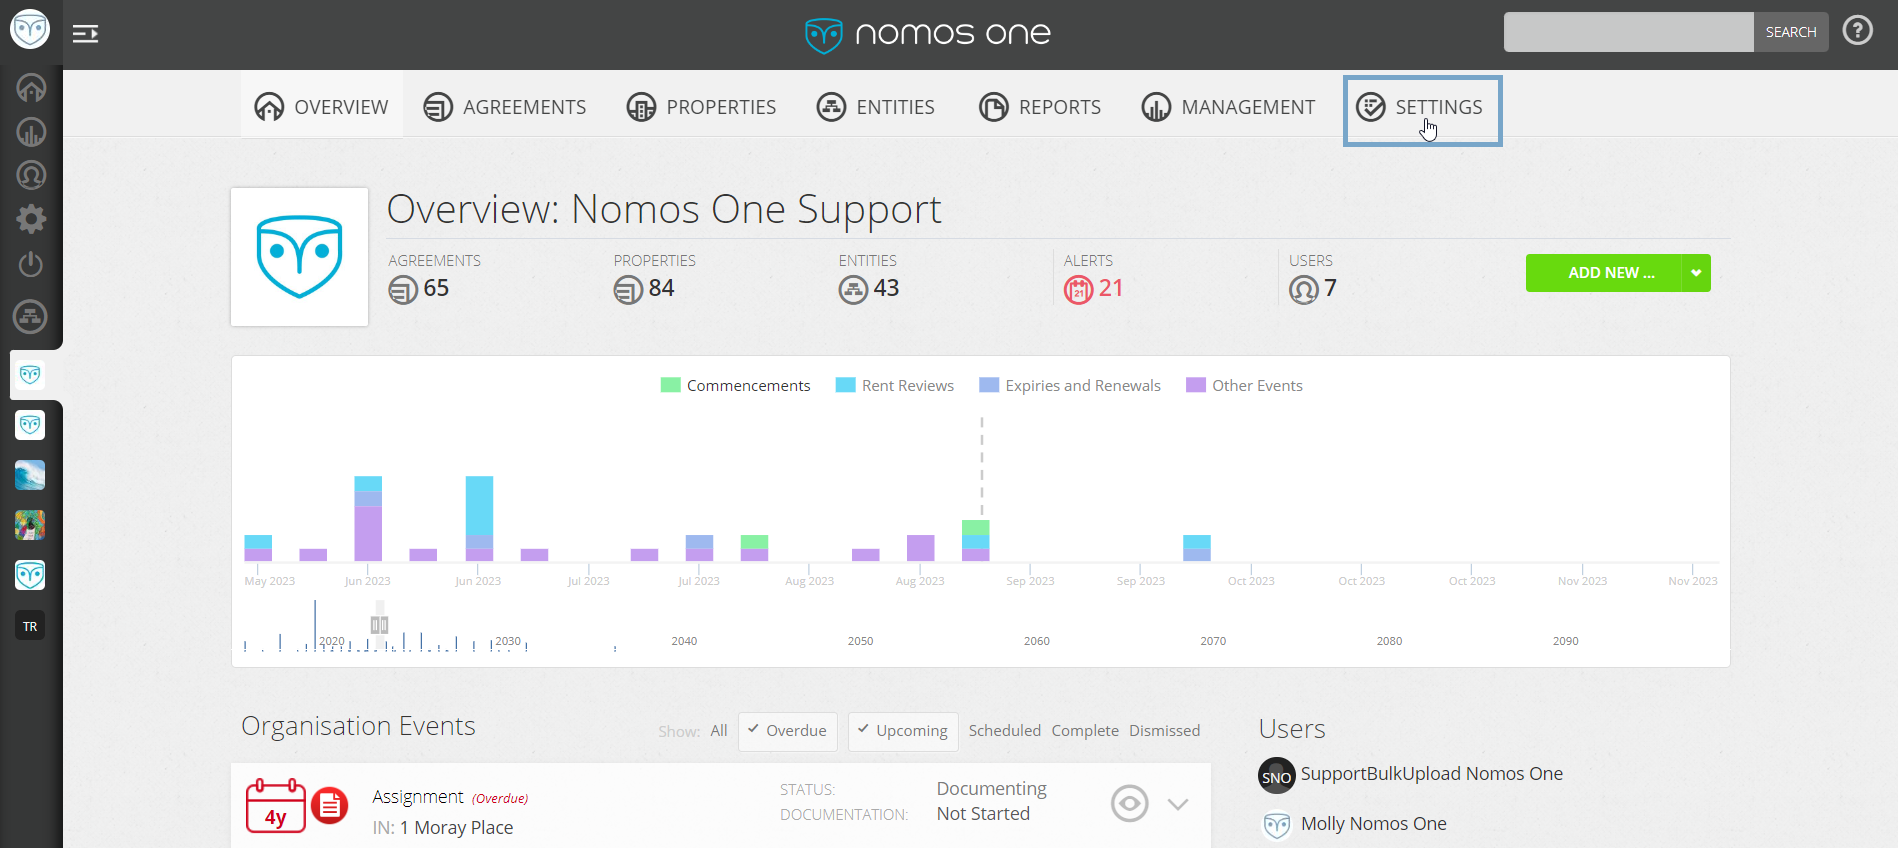
- Navigate to the Settings Console.
- Click into the “Financial Allocations” tab.
- Click “Add new group”.
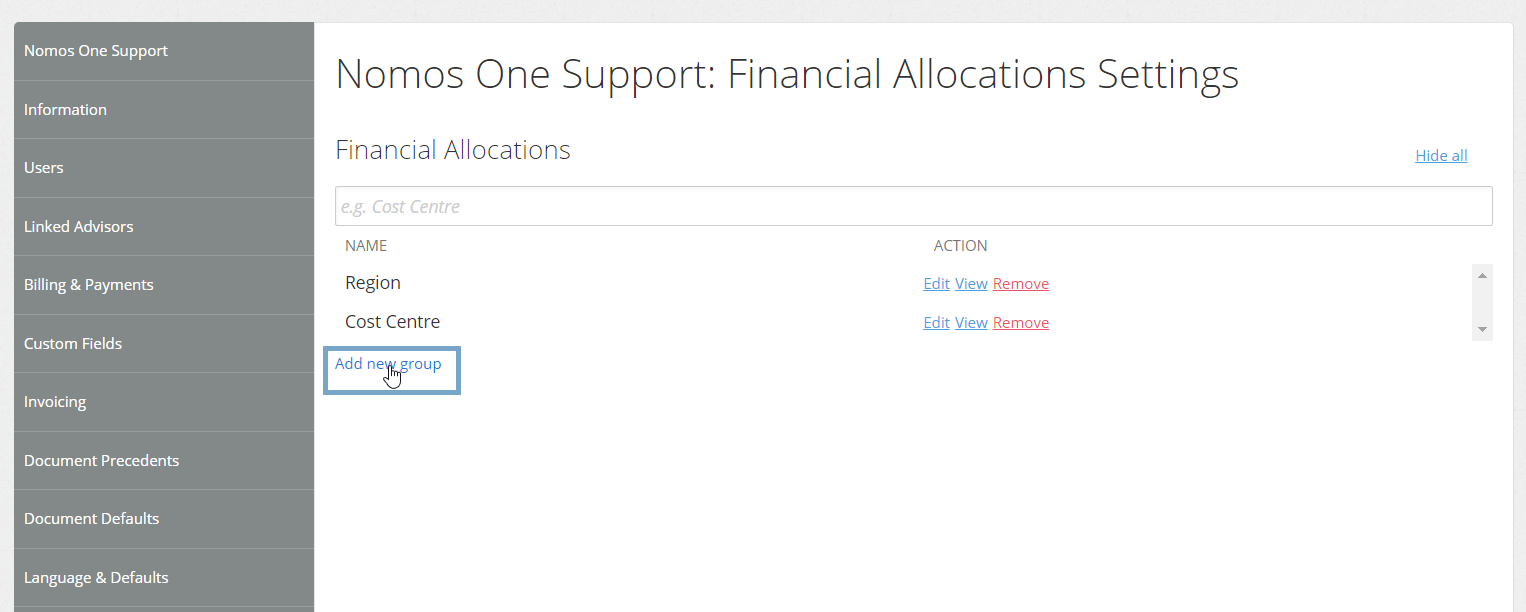
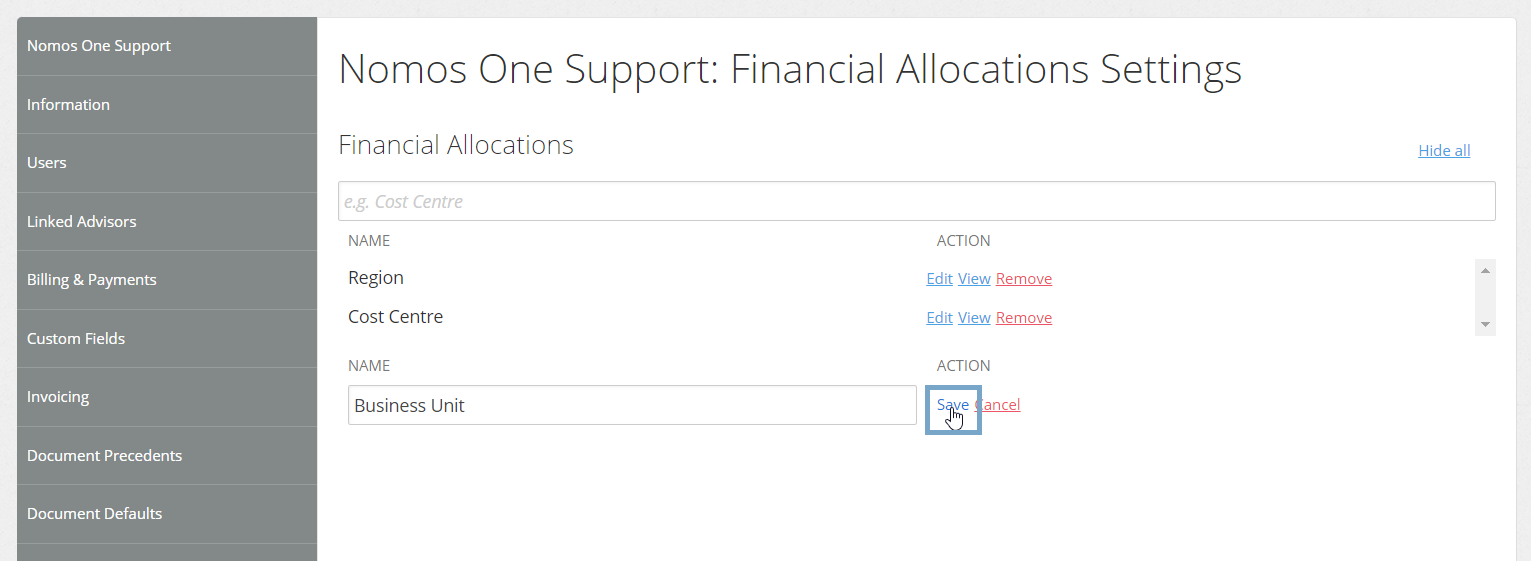
- Enter the Name of your Financial Allocation group and click “Save”. Please note that you should not include an extra space at the end of the name, as it prevents the code from displaying correctly in reports (e.g., write “Business Unit” not “Business Unit ”).
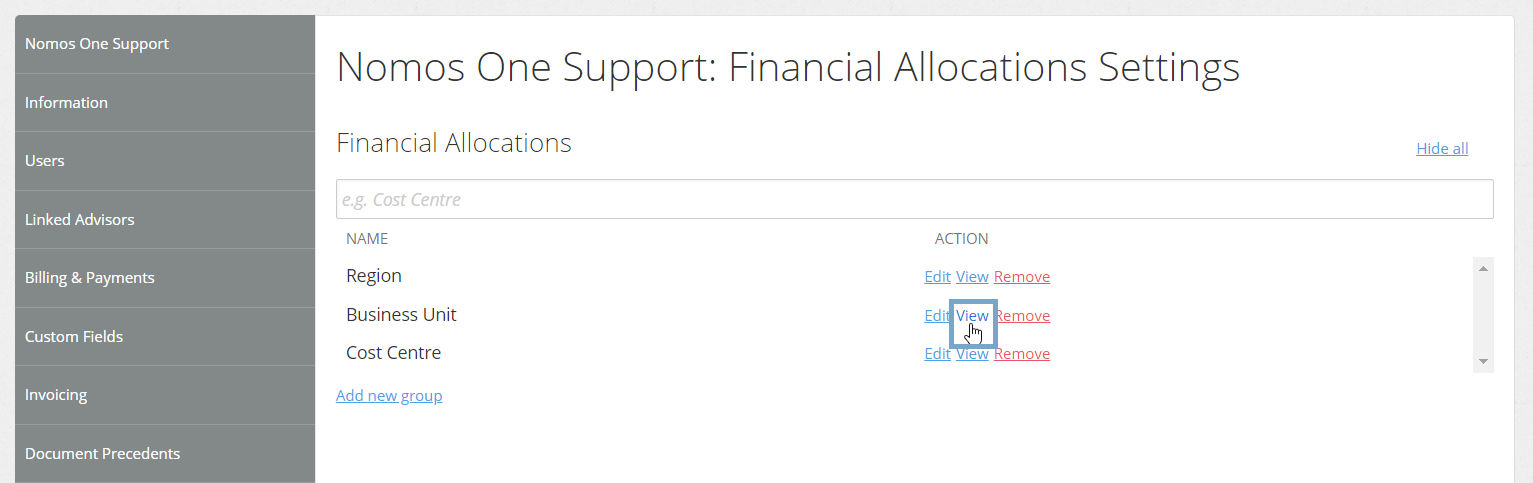
- To create specific sections within an allocation, click “View” for the Financial Allocation you just created.
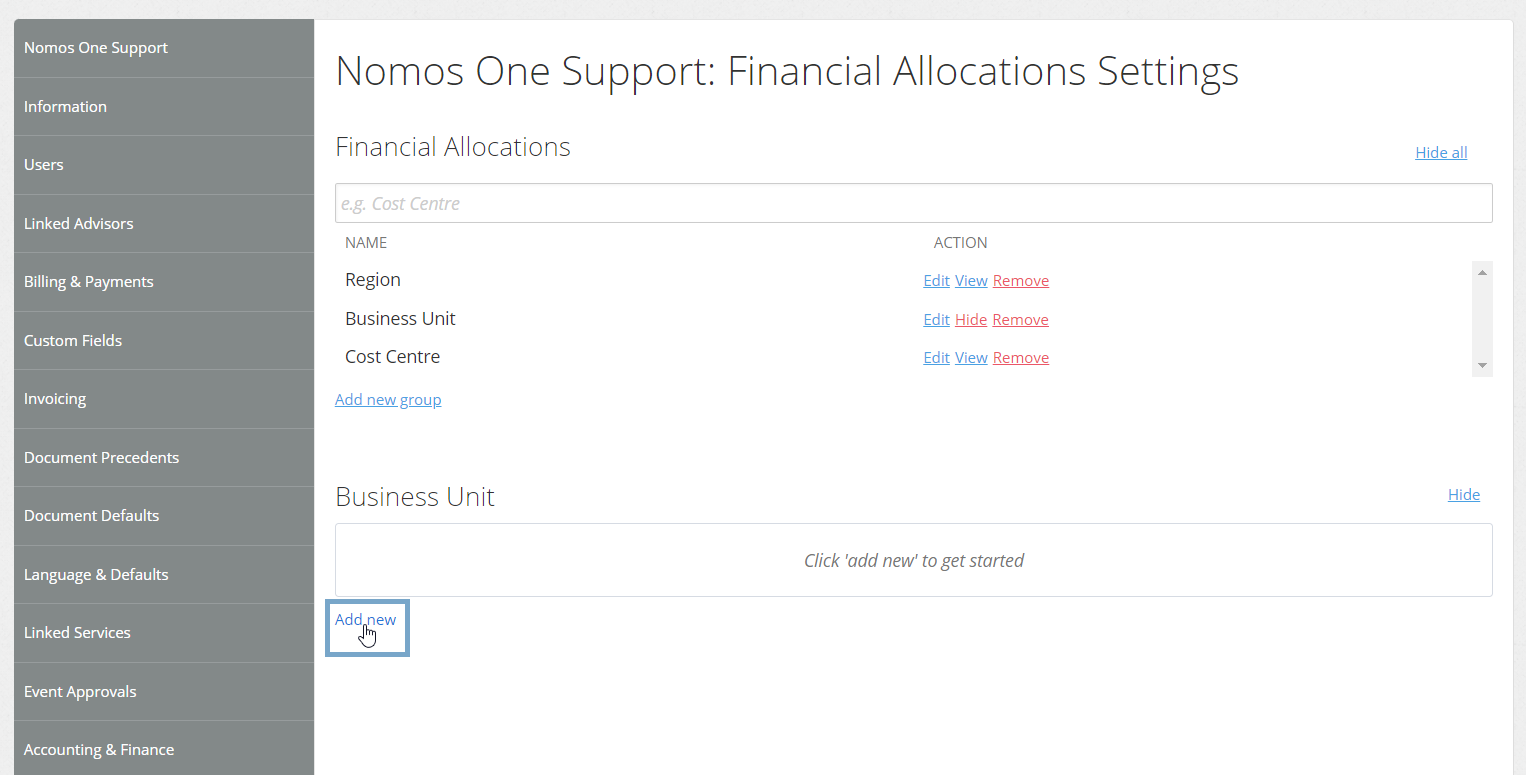
- Click “Add new” to create a specific allocation.
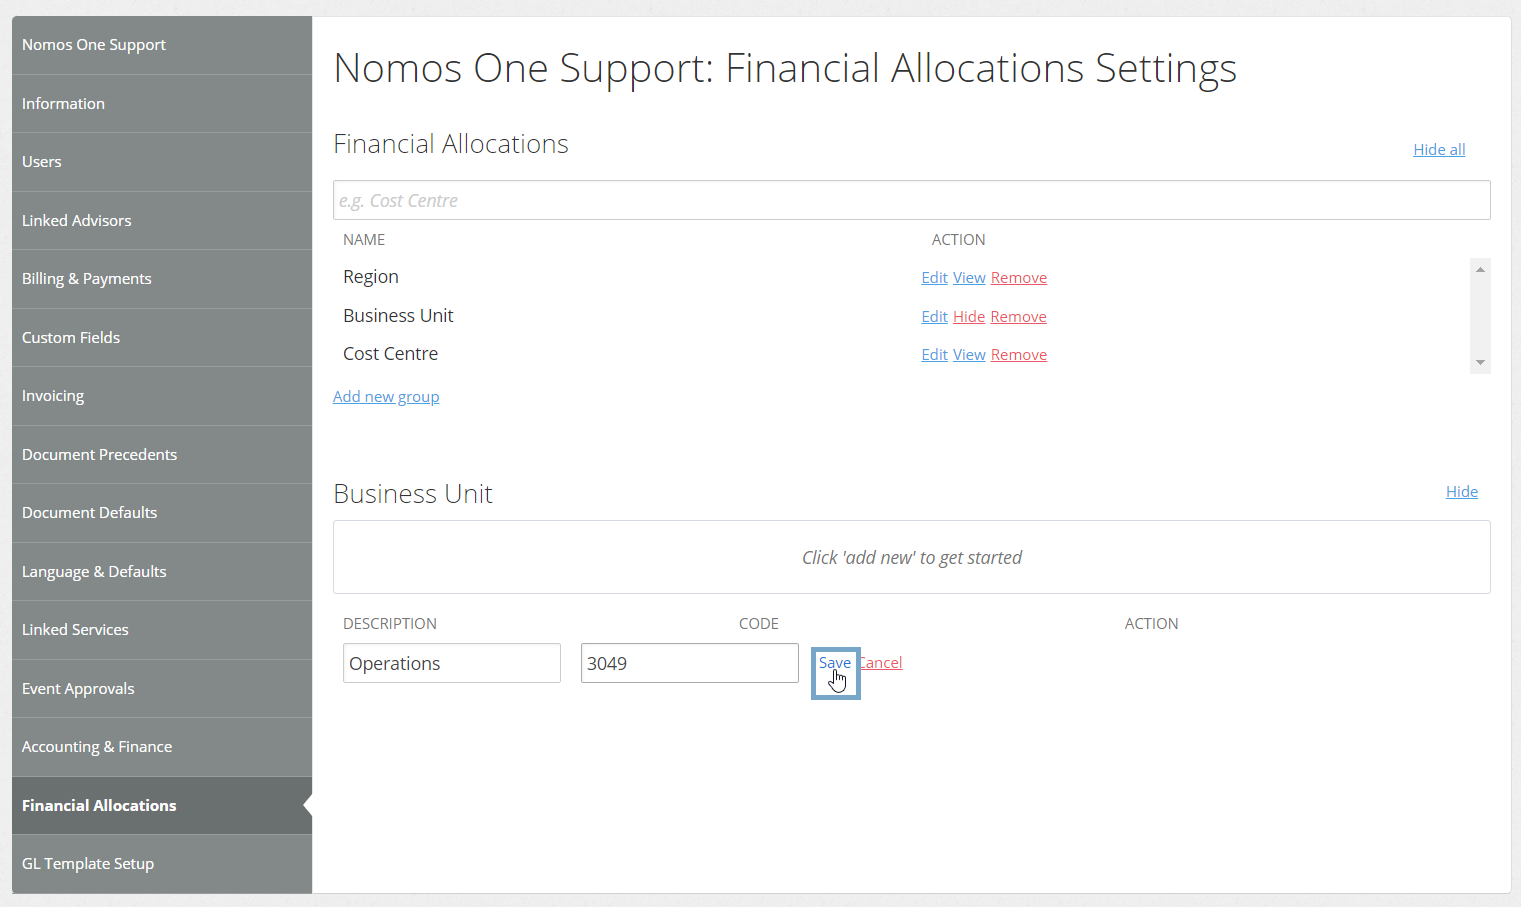
- Enter a name for your allocation in the Description field, enter a Code, then click “Save”.
- Create and add as many Financial Allocations as you need by repeating steps 3-7 above.
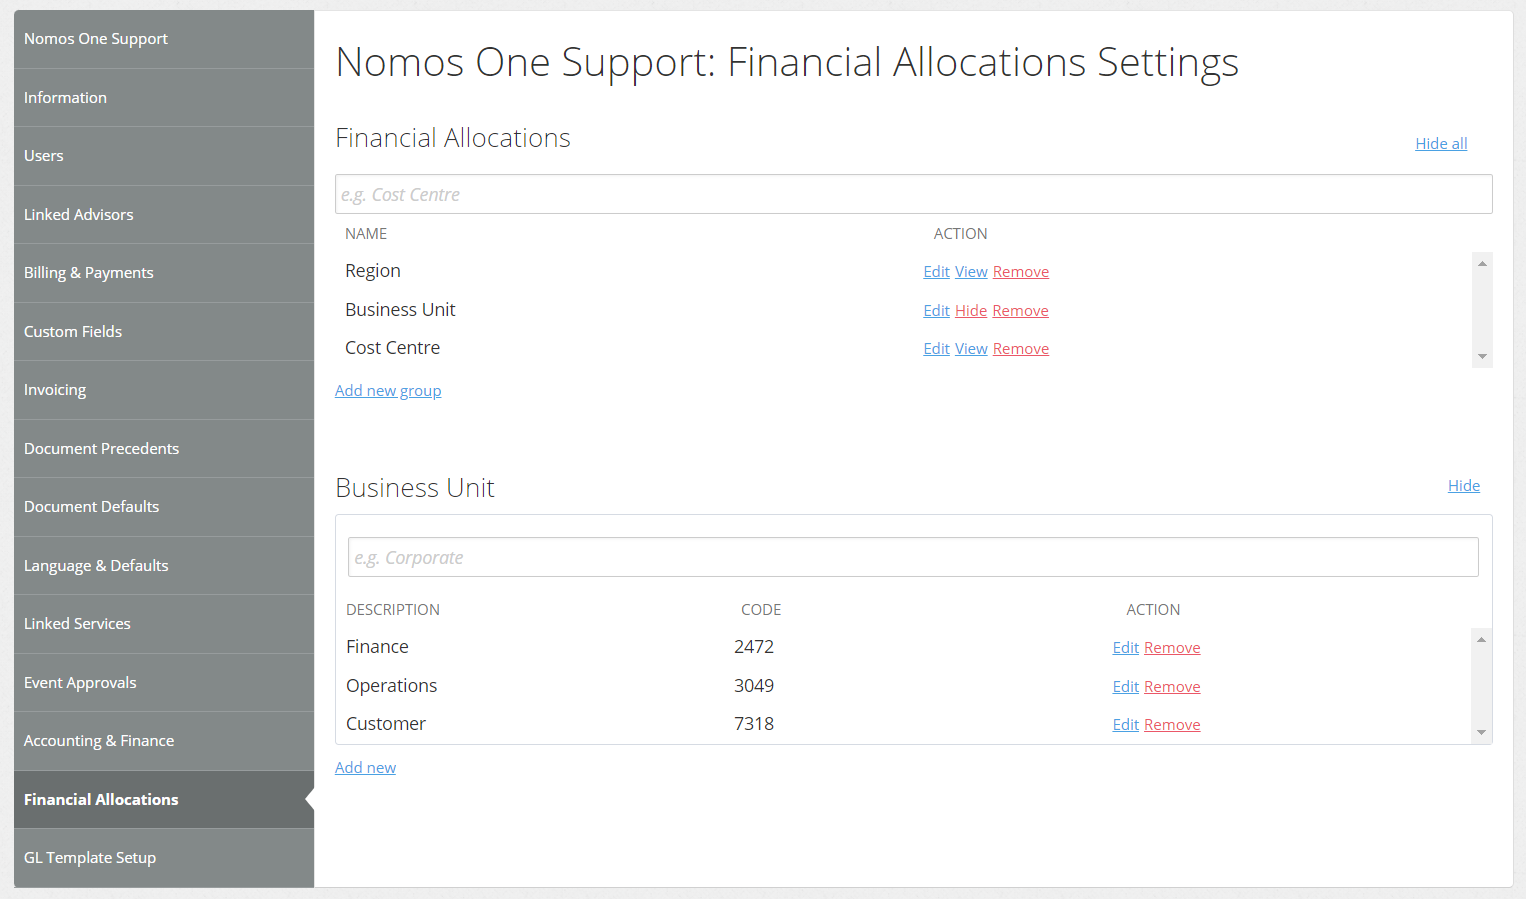
- Once you're finished, click “Hide” to collapse the allocation group. If you want to edit a group later, simply click “View” to expand it again.

Linking your Financial Allocations to your GL Template
After you've set up your Financial Allocations, you'll need to link them to your GL Template and apply them to your Agreements in Nomos One. To learn about how to link your Financial Allocation to your GL Template, click here.
Applying your Financial Allocation to your Agreement
The next step is to apply your Financial Allocation/s to each Agreement. Once Agreements are linked with this information, the specific allocations you've assigned will pull through for each Agreement on the Journal Report.
To apply your Financial Allocations to Agreements:
- Navigate to the Agreement you'd like to apply the Financial Allocations to.

- Click “Action”, then “Repair Data”.

- Navigate to the “Other” page of the Agreement Wizard.

- Under “Select Allocation”, click “Add new financial allocation”.

- Use the drop down bar to select a Financial Allocation group, then click “Select”.

- Tick the allocation(s) applicable to your chosen Agreement, then click “Apply Sub Groups to Agreement”.

- Click “Edit” on each sub group and enter in the percentage allocated to each. The total percentage must add up to 100%. Click “Update”.

- Click “Done” at the top or bottom of the page to save your changes.

- Generate your Journal Report. You should see the specific Financial Allocations reflected in your Report for each Agreement you've applied them to.

Nomos One does not provide or purport to provide any accounting, financial, tax, legal or any professional advice, nor does Nomos One purport to offer a financial product or service. Nomos One is not responsible or liable for any claim, loss, damage, costs or expenses resulting from your use of or reliance on these resource materials. It is your responsibility to obtain accounting, financial, legal and taxation advice to ensure your use of the Nomos One system meets your individual requirements.