
Properties in Nomos One are the representation of the Asset in your Agreement. These Properties will be attached to your Agreement to record any relevant details about the Asset.
The Property page in the Agreement Wizard is where you create the properties or assets associated with your Agreement. How you define the assets or properties will depend on your portfolio and how you'd like to report on them.
Any Properties you create will then show in the Properties tab of your Organisation where you can view and edit them.
How to Create a Property
You can find existing properties in your Organisation displayed in the left-hand panel of the Property page in the Agreement Wizard. Properties are shared across your Organisation (just like Entities), so you don't need to re-create records if they are the subject of multiple Agreements.
Before creating a new Property, we recommend searching in the left-hand panel to see if it already exists within your Organisation. To do this, simply type in the name of the property/asset in the search bar to see if it has already been created. If it has, you can attach this property to your Agreement. If it doesn't exist, follow ahead with the steps on how to create a property.
To create a new Property:
- Click the New Property button

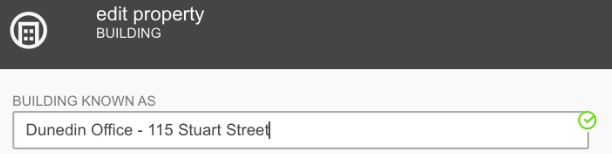
- In the pop-up box, enter the name of the Property/Asset in the Known As field
- Select the Type that best describes the Property you're creating. You can also select a Sub Type if you'd like to
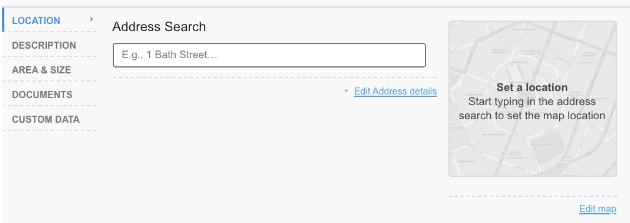
- If you've selected the Land or Building Type, and would like to add an Address to the Property, you can record that in the Location section. Click on the Address Search bar and start typing the Address. The search bar will give you suggestions as you start typing; simply click on the address that matches
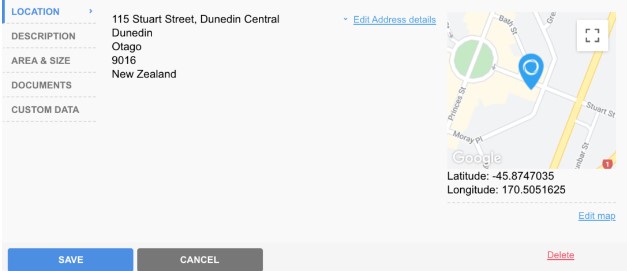
The Address you've recorded will be displayed along with a map on the right side. If you'd like to edit the coordinates of your location to be exact, click Edit map and type them into the Latitude and Longitude text boxes.
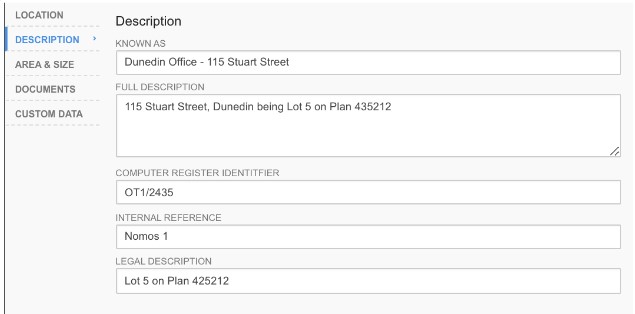
- In the Description section, you can add further information about the Property such as a Full Description, Computer Register Identifier, Internal Reference, or Legal Description by clicking into the relevant text field and recording your information
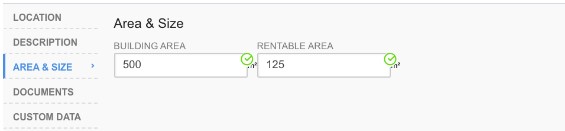
- If you'd like, you can also record the Area of a property by clicking into the Area section
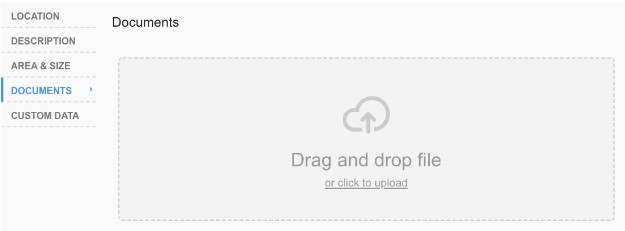
- If you would like to upload Property specific documents such as maps or site plans to this Property, you can click on the Documents section then drag and drop any files onto the specified area
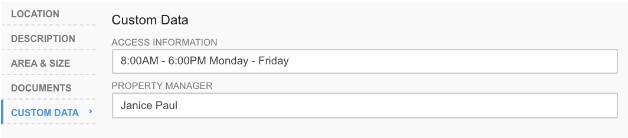
- If your organisation has Property Custom Data fields enabled, you can click into the Custom Data section and populate these fields
- Once you've finished adding details against a Property, click Save
Adding a Property to your Agreement
To add a Property to an Agreement:
- Type its name into the search bar and then drag and drop the Property from the left-hand panel onto the corresponding panel on the right-hand side
Alternatively, you can click the + icon next to the property you want to attach. This is particularly helpful if you would only like to attach a specific part of a Property Hierarchy to an Agreement.
Removing Properties from an Agreement
If a Property or part of a Property is no longer associated with an Agreement, you can remove it by clicking the X on the right-hand side of the property attached to the Agreement. The Property structure will then return to the left-hand panel.
If you would like to delete a Property or Asset completely, you'll need to click the pencil icon next to the Property and click the Delete button at the bottom of the Property pop-up box. In order to delete a property, it must not be attached to any Agreement first. Deleting a property is irreversible.
Property Hierarchies
In Nomos One you can build out Property Hierarchies to represent the structure of how your property is arranged. You can create land structures and represent that there's a building on it, and then within that building break it down and display different floors and areas within. You can also use this feature to represent Land with areas that are subsequently leased or show a connection between leased land and an easement area.
What's Next?
Once you've attached the property or asset to the Agreement on the right-hand side, click Next to save and move to the Rent and Payment page.
Nomos One does not provide or purport to provide any accounting, financial, tax, legal or any professional advice, nor does Nomos One purport to offer a financial product or service. Nomos One is not responsible or liable for any claim, loss, damage, costs or expenses resulting from your use of or reliance on these resource materials. It is your responsibility to obtain accounting, financial, legal and taxation advice to ensure your use of the Nomos One system meets your individual requirements.